Autumn is the Perfect Time to Turn Leaves into Roosters and Turtles.
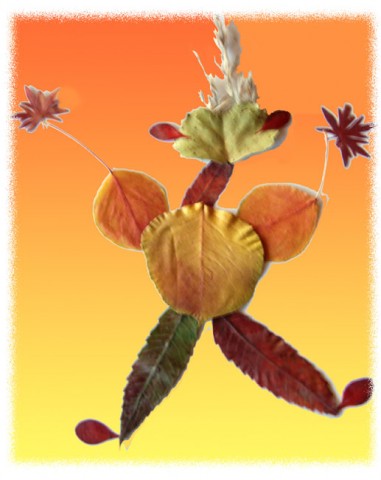
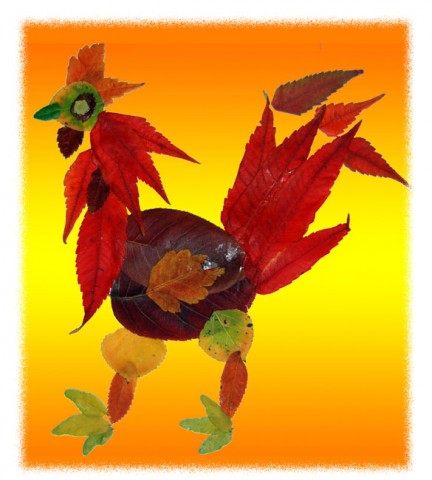 With the arrival of fall, leaves are bursting in fiery shades of gold, crimson, and orange. My favorite are the ones that remain stubbornly green at the center but rimmed with red and yellow. As if they’re not fully committed to the idea of a new season. In October, we set out with the kids on hikes and rambles through the neighborhood collecting leaves of varying shapes and hues. The collecting is half the fun. Back home, we press the leaves and arrange them in the shapes of animals, humans, and aliens, and paste it all down on a sheet of construction paper. The resulting leaf creatures are beyond adorable.
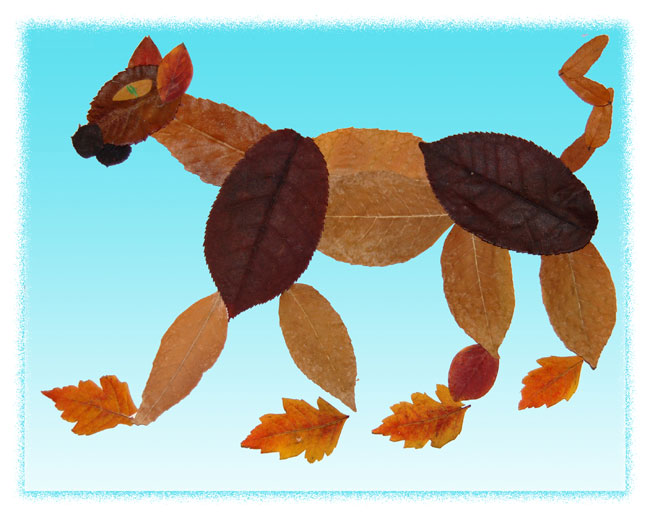 This project also gives you the opportunity teach your striplings a little something about leaves. Kids can learn to identify a leaf based on its silhouette. Is it a sumac, oak, or cottonwood? Aspen or ash? Is it a simple or a compound leaf? Lobed or unlobed? Add some scientific study to the project and little ones will get an unwitting dose of education with their art.
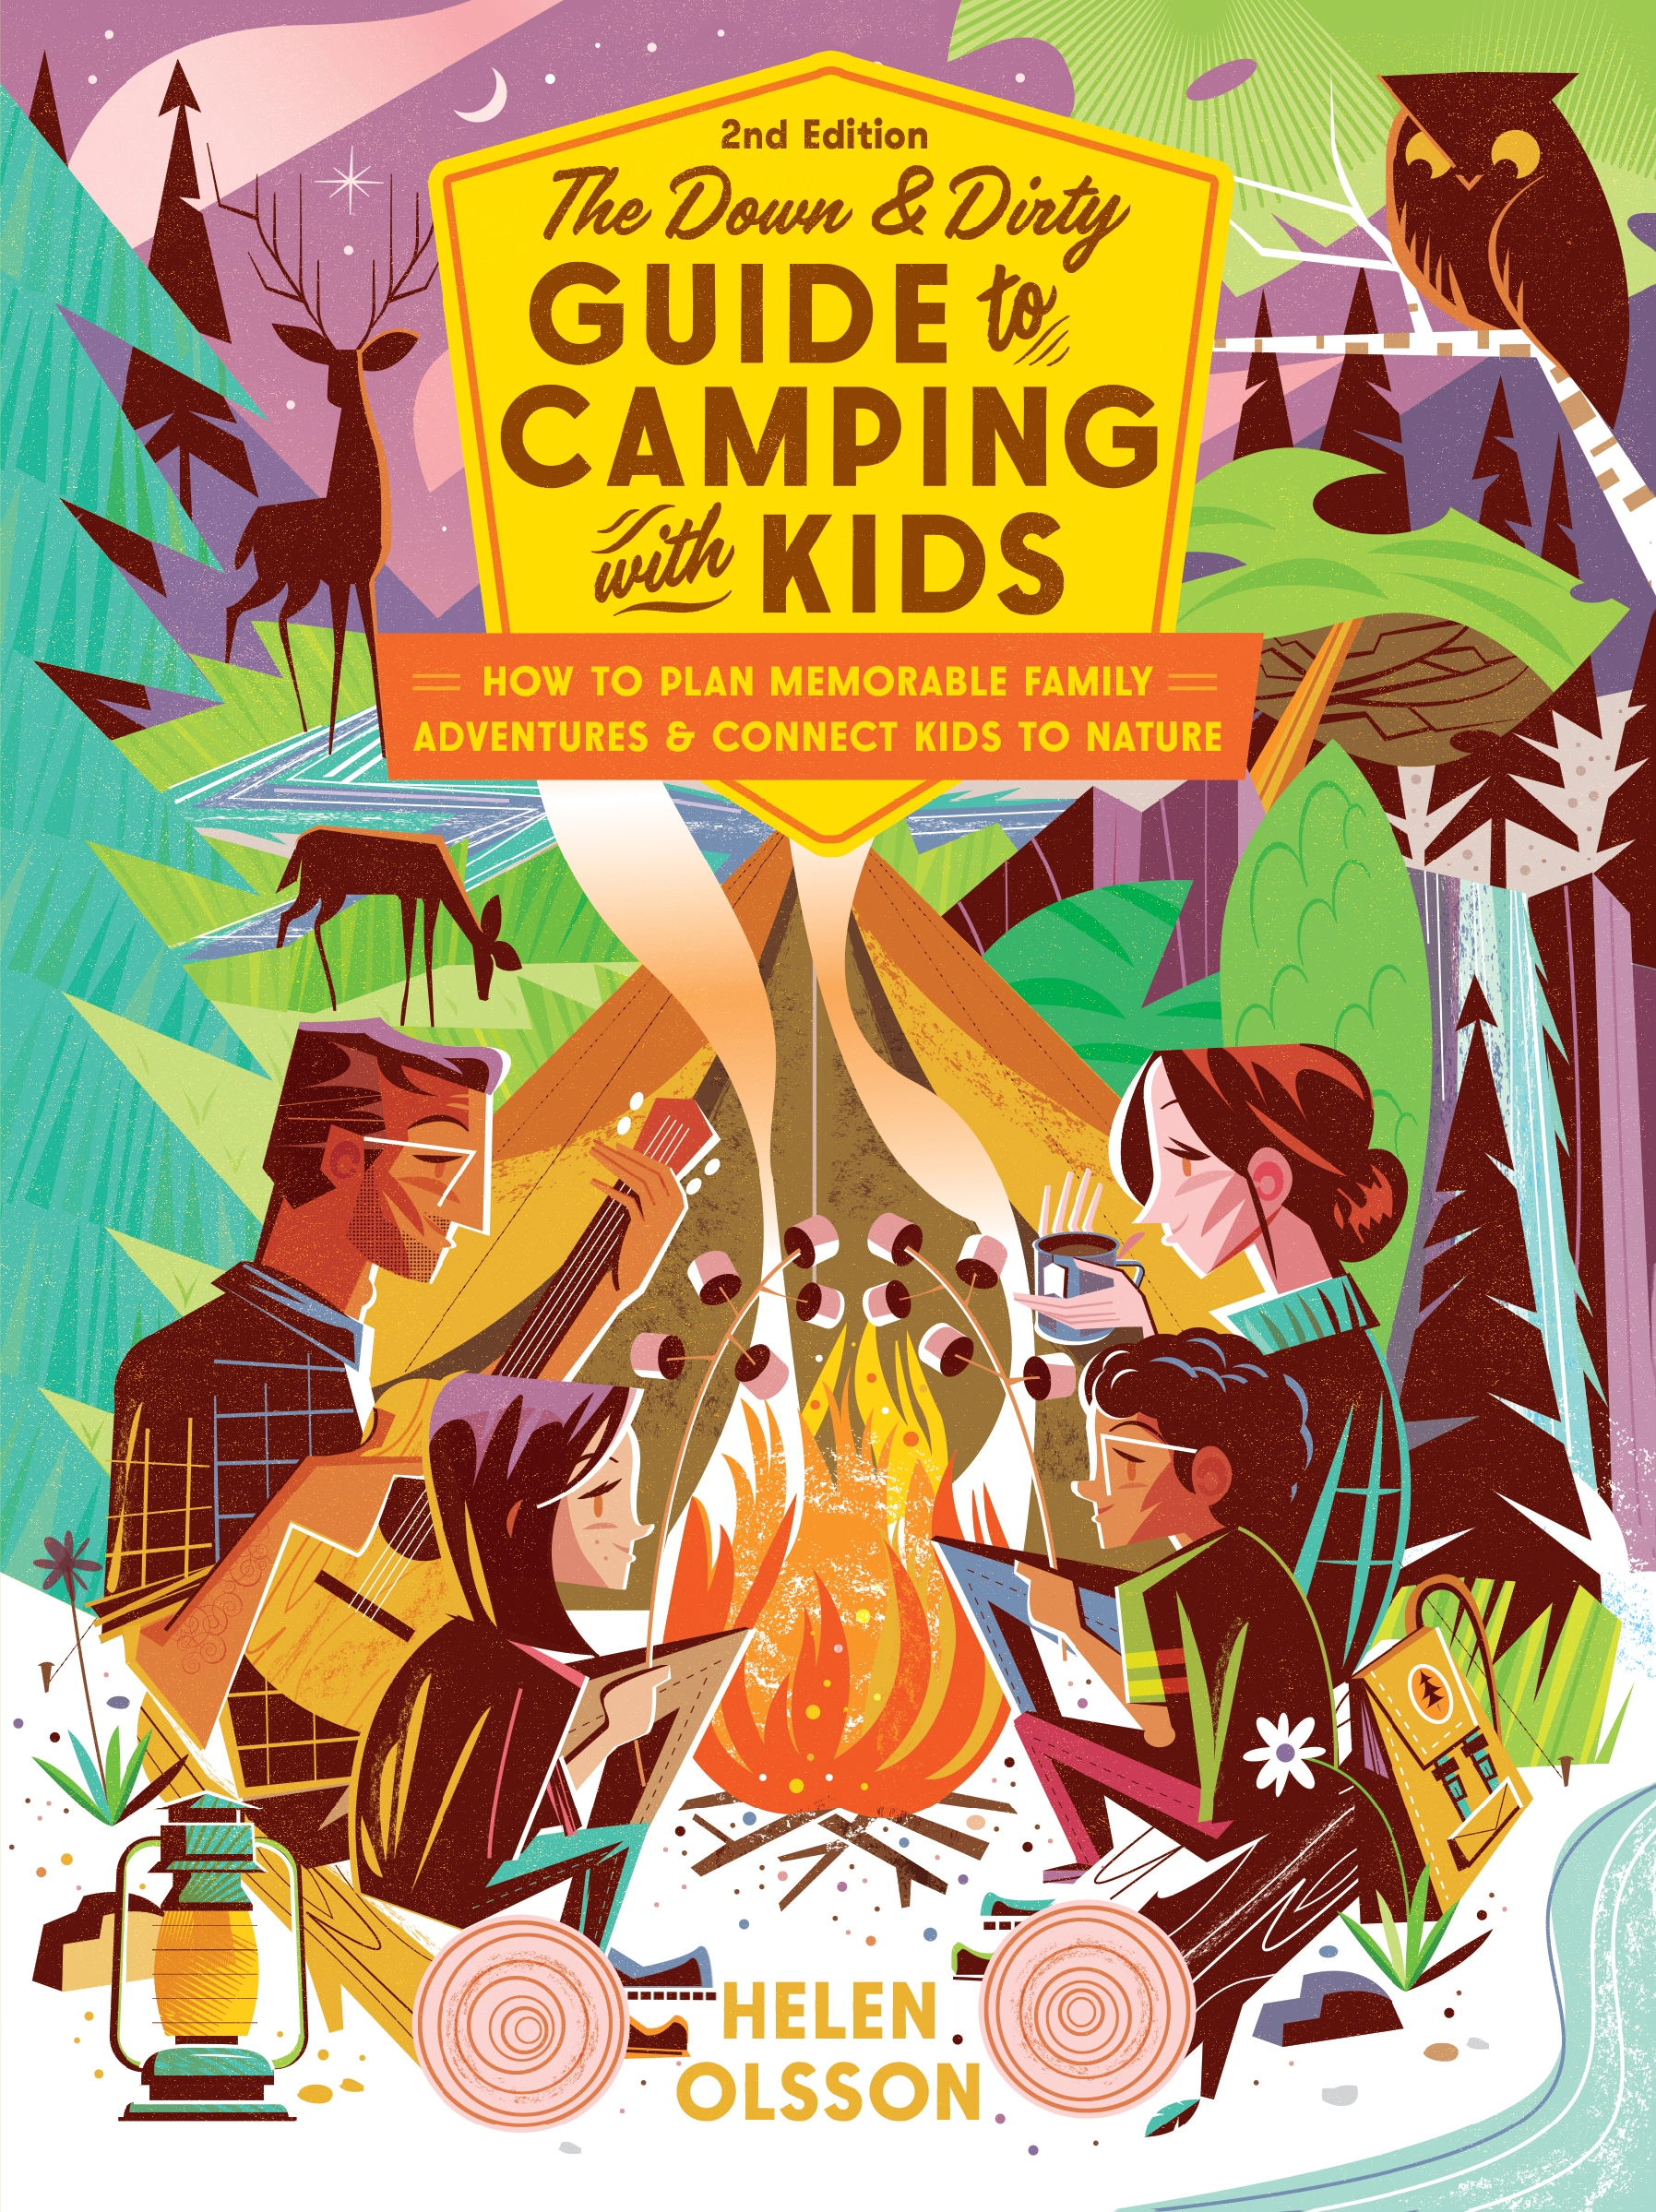
This nature-based craft appears in my book, The Down & Dirty Guide to Camping with Kids. You can also find inspiration in Lois Elhert’s Leaf Man and Look What I Did with a Leaf! by Morteza E. Sohi. Read on for instructions for creating your own leaf creatures.
Materials
• Colored construction paper
• Glue (stick, not liquid!)
• Scissors
• 8″ x 10″ envelope or 1-gallon zip-top bag
• Leaves
• Sheets of clear contact paper (optional)
 Instructions
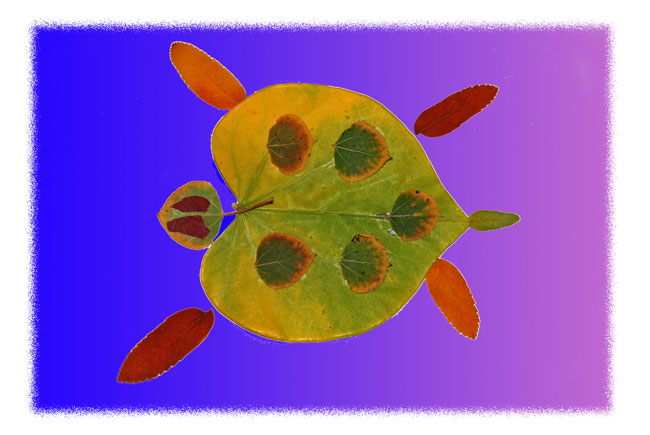
1. Choose an animal or person, and think about what leaf shapes you’ll need. Round leaves for a turtle’s body, feathery leaves for dragonfly wings, oval leaves for a fish.
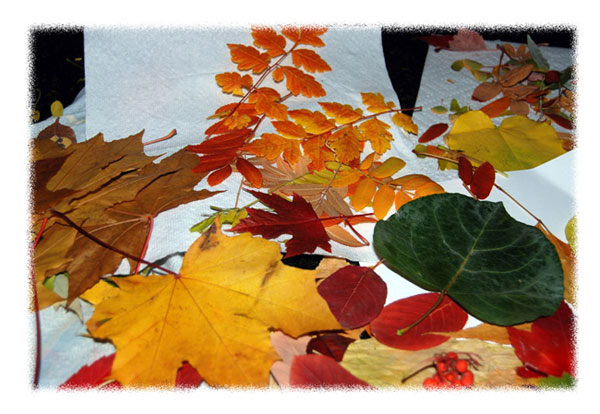
2. Using a big envelope or plastic bag, collect leaves, freshly fallen if possible. If the leaves are too dry, they’ll disintegrate.
 3. Press leaves under something heavy for half an hour. Longer if you have the patience.
4. Arrange the leaves in the shape of an animal or person (or an extraterrestrial). Combine leaves of different shapes and colors. Employ contrast. Maybe bright yellow wings on a dark green body. Use layering to create detail and texture, like the scales on a fish or the plumage of a bird.
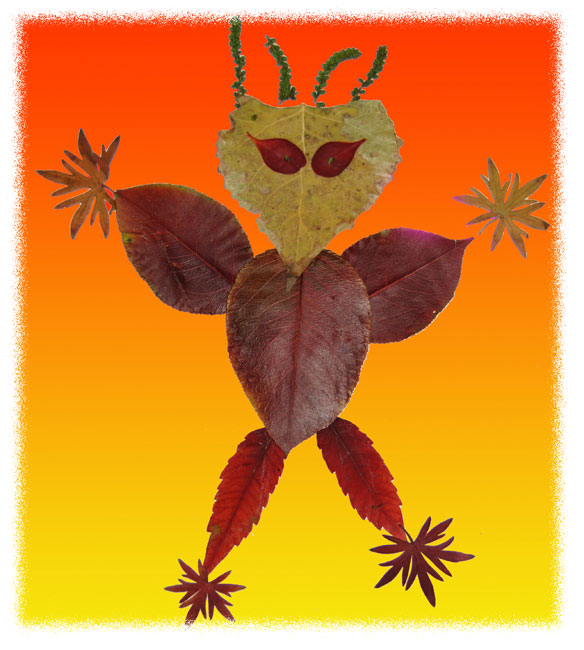 5. Use small leaves for eyes, noses, beaks, and antennae. If you can’t find the perfect leaf for these anatomical details, cut extra leaves to suit your purpose.
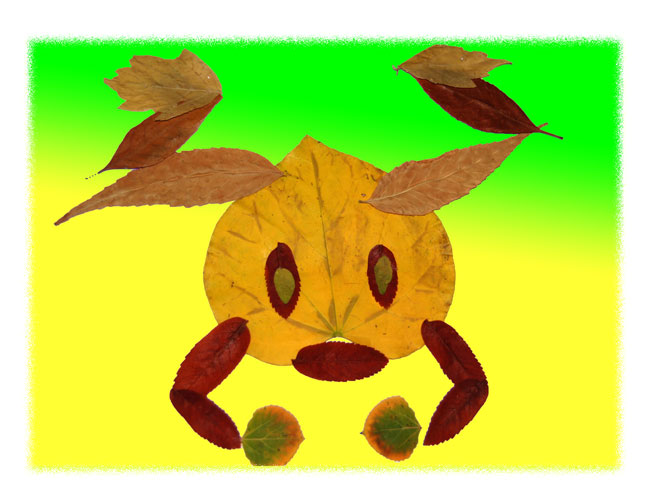 6. Once you’re happy with the arrangement, carefully glue the leaves in place on a piece of construction paper. Use stick glue instead of liquid glue. Liquid glue tends to turn all the leaves, regardless of original color, to dark brown.
7. So that the Leaf Creature dries flat, cover it with a piece of paper and slip it into a hardback book. Place something heavy on top.
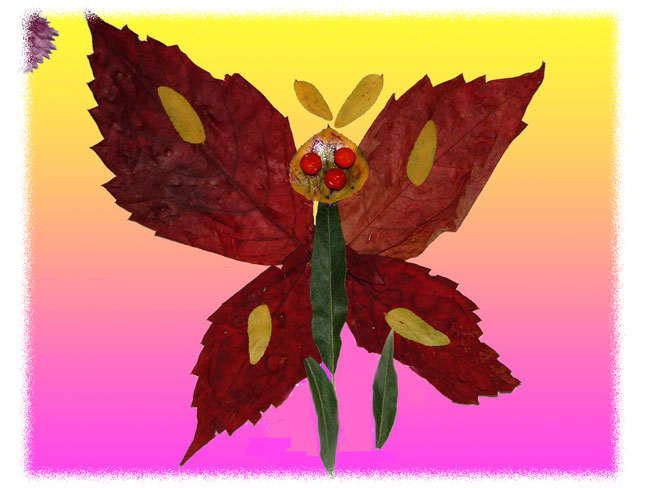 8. Optional: if you want to preserve the artwork once it’s dry, place the paper on a slightly larger piece of clear contact paper and cover it with another piece of clear contact paper, laminating it all together. You can find clear contact paper at craft, hardware, or education-supply stores.
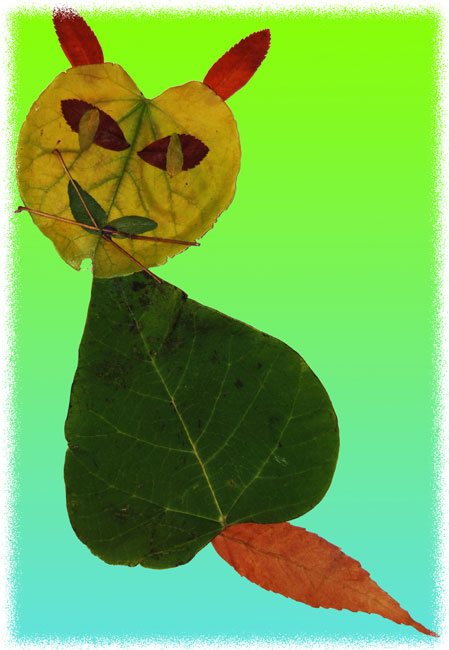
9. Take a picture of the leaf creature for posterity. Over time, the original will dry up, crumble, and fade.
Great ideas! We will make leaf creatures this weekend,
Leaf critters! Such a great way to get the kids connected with fall and to use their little imaginations. And you don’t need any foam stickies or plastic beads!!!! (it’s all natural and organic!)
What a simple and wonderful idea. Even my 2-year-old can do this. Guess what we’ll be doing on Friday?? 😉 PS – I tweeted!
Thanks for the tweet! It is really so easy, and the results are magical.
Love the creativity!! The color is beautiful! I’ll have to get my boys to try their hand at this! 🙂
It’s amazing what even the youngest kids can do with leaves and make these gorgeous creations. I must admit, the rooster was made by my 12 year old, and i gave him a bit of help. That was a whole lotta sumac. But the kids were also super proud of the results.